Configuration
Feature Activation Required
Please contact Showpad if you're interested in configuring your own custom CRM Connector.
Configure CRM Connector
| Step | Description | ||||||||||
|---|---|---|---|---|---|---|---|---|---|---|---|
| 1. | Sign in to Showpad's Admin App and open Settings. | ||||||||||
| 2. | Click on CRM in the Integrations section.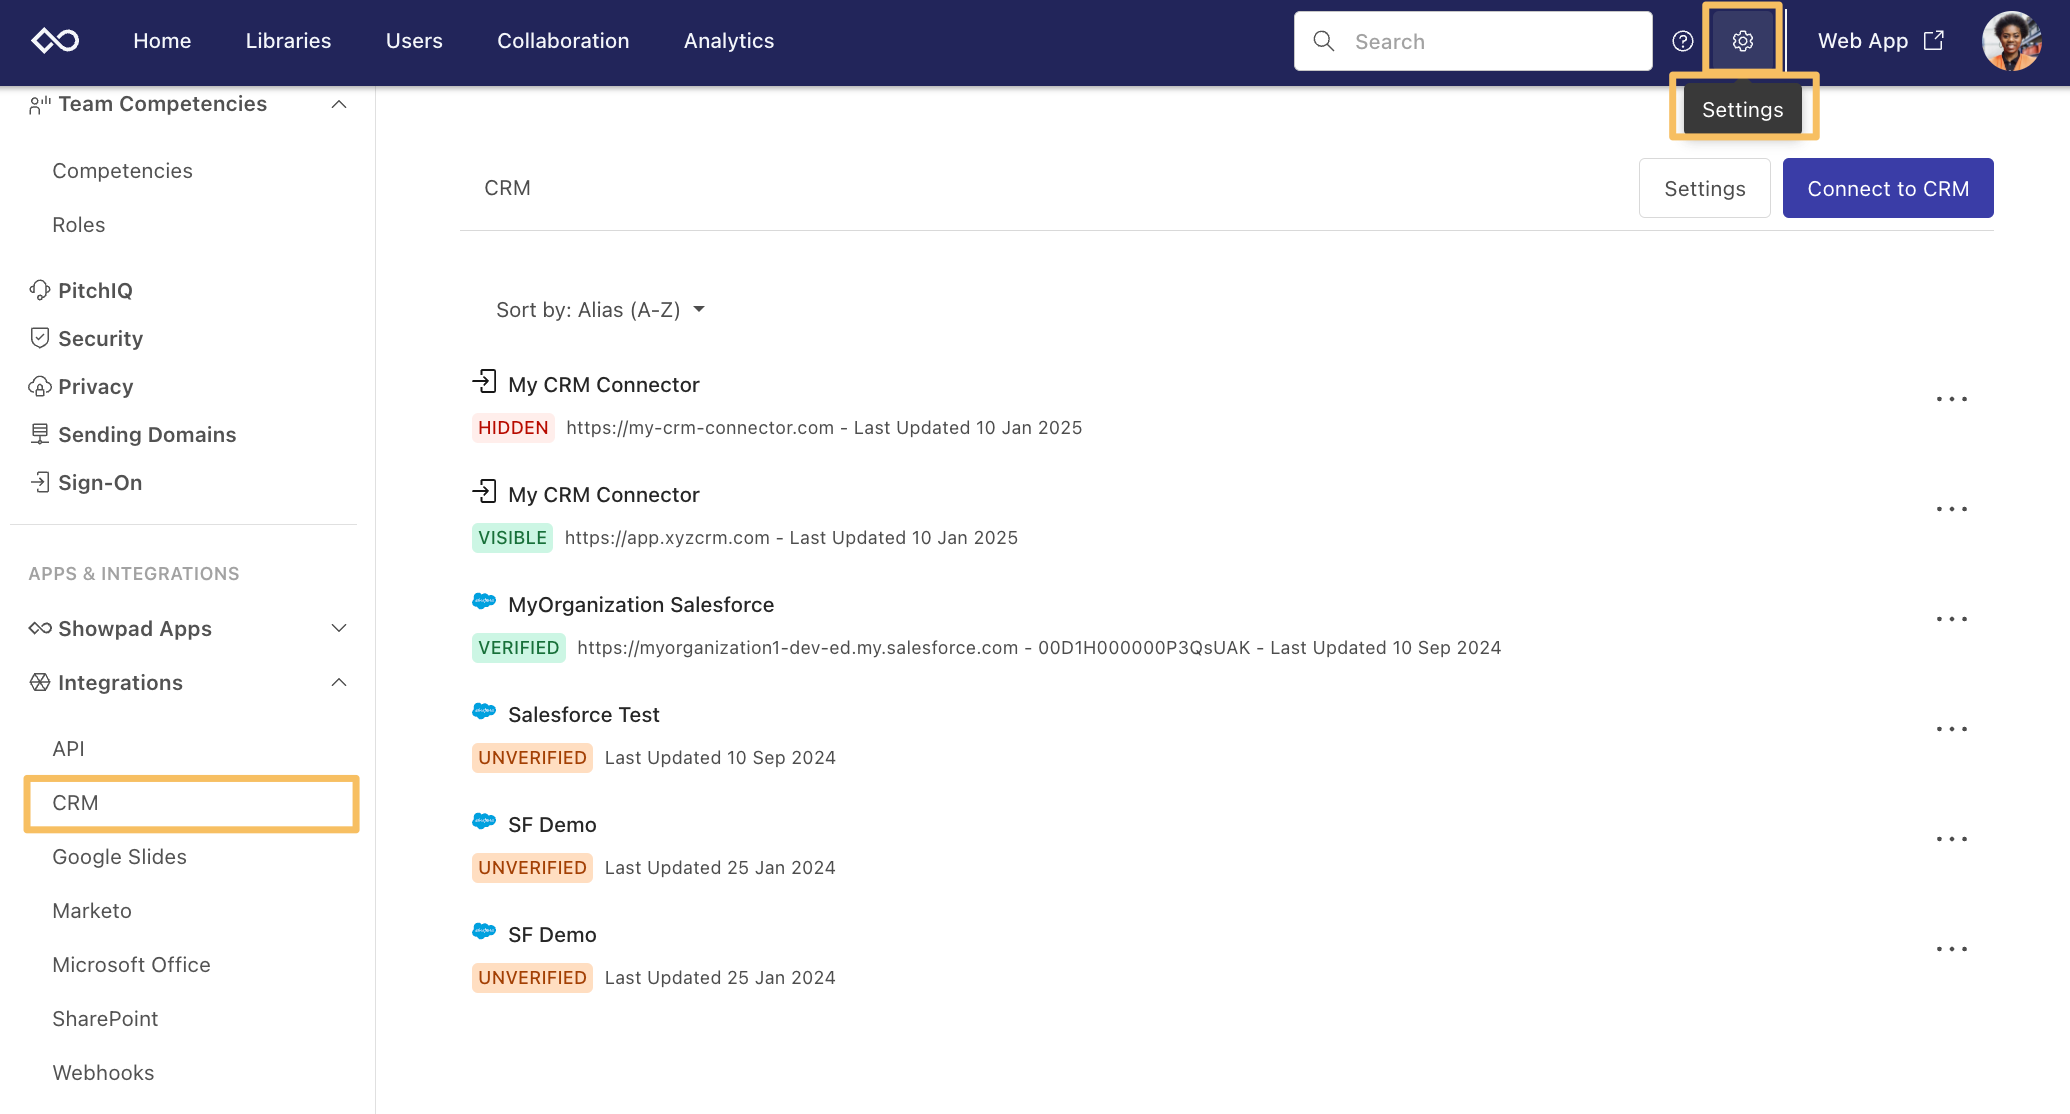 | ||||||||||
| 3. | Click the Connect to CRM button to open the new connection dialog: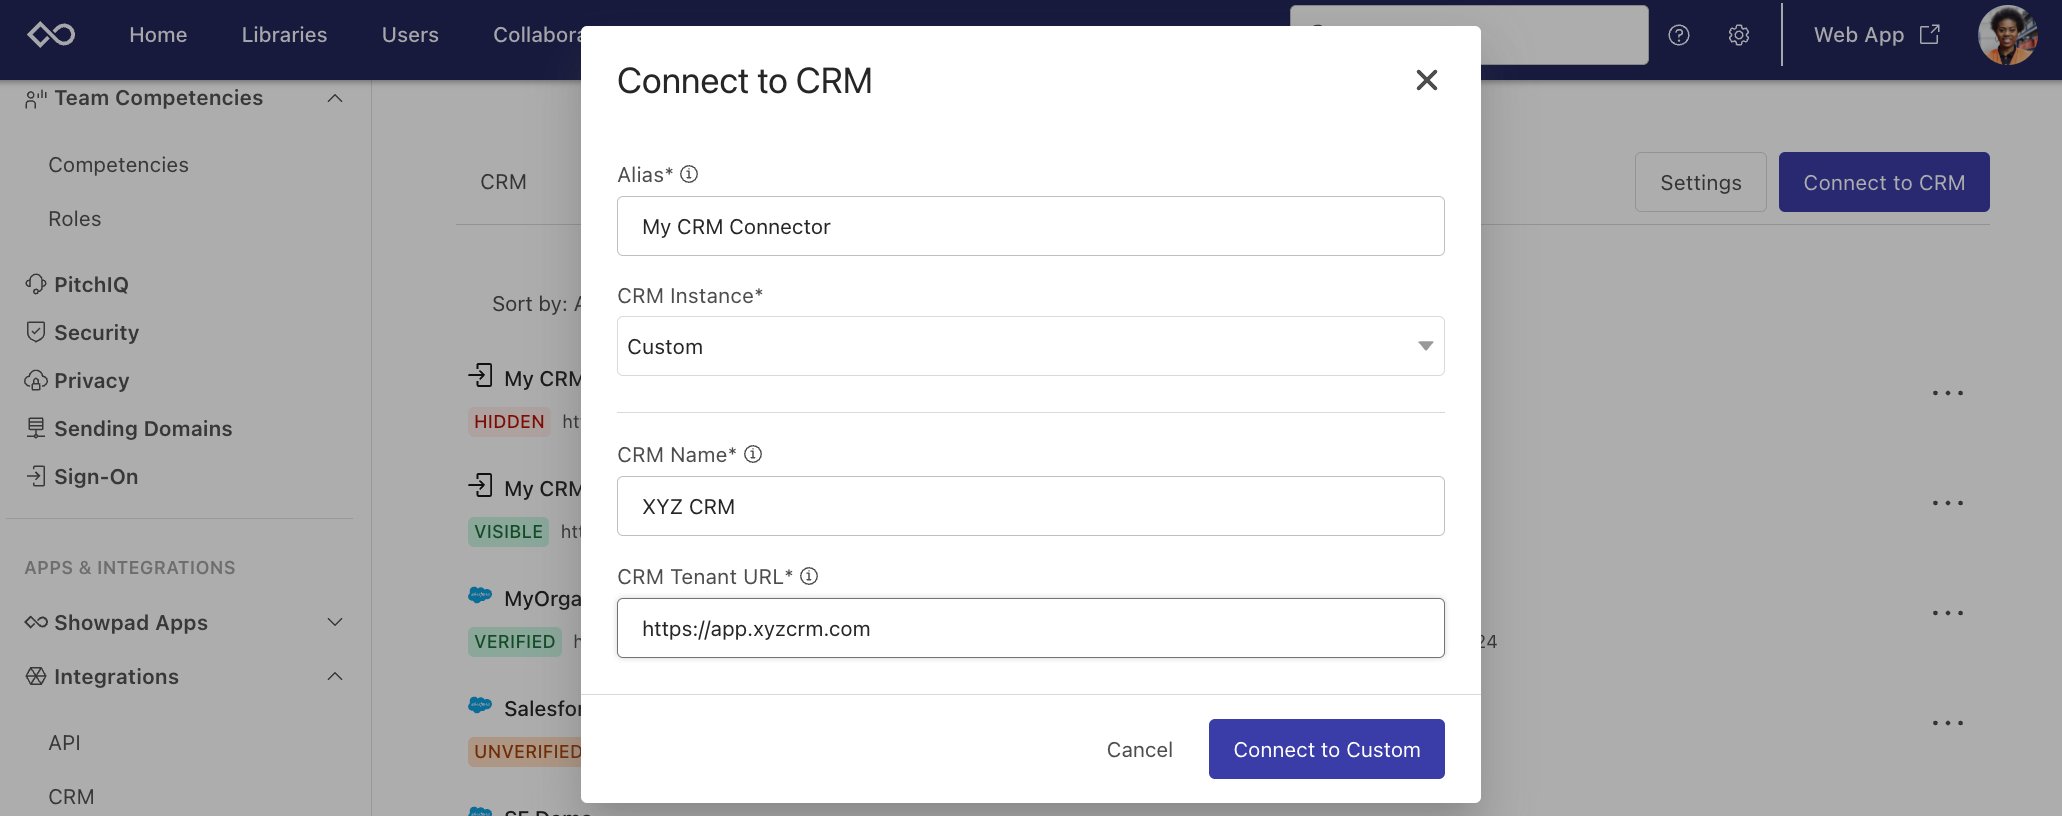 | ||||||||||
| 4. | Enter the CRM Connector information (you can update these settings later, if necessary.):
| ||||||||||
| 5. | Click the Connect to Custom button. The settings page for the CRM connection you just created is displayed: | ||||||||||
| 6. | Specify the endpoints to call by clicking the Edit link for Request Endpoints: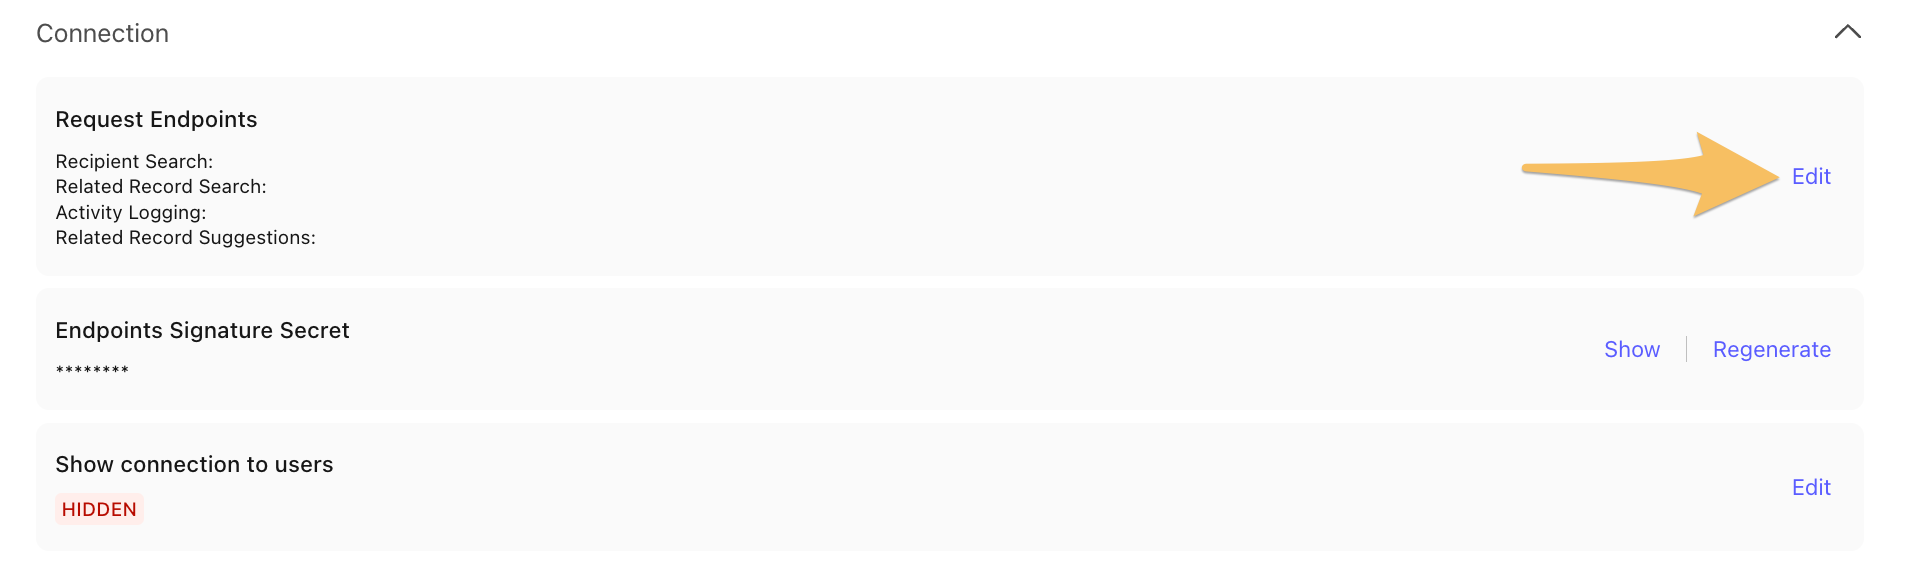 This opens the Edit Endpoints dialog:  | ||||||||||
| 7. | Click the Save button to register your choices. | ||||||||||
| 8. | Click the Show link for the Endpoints Signature Secret and copy the code. 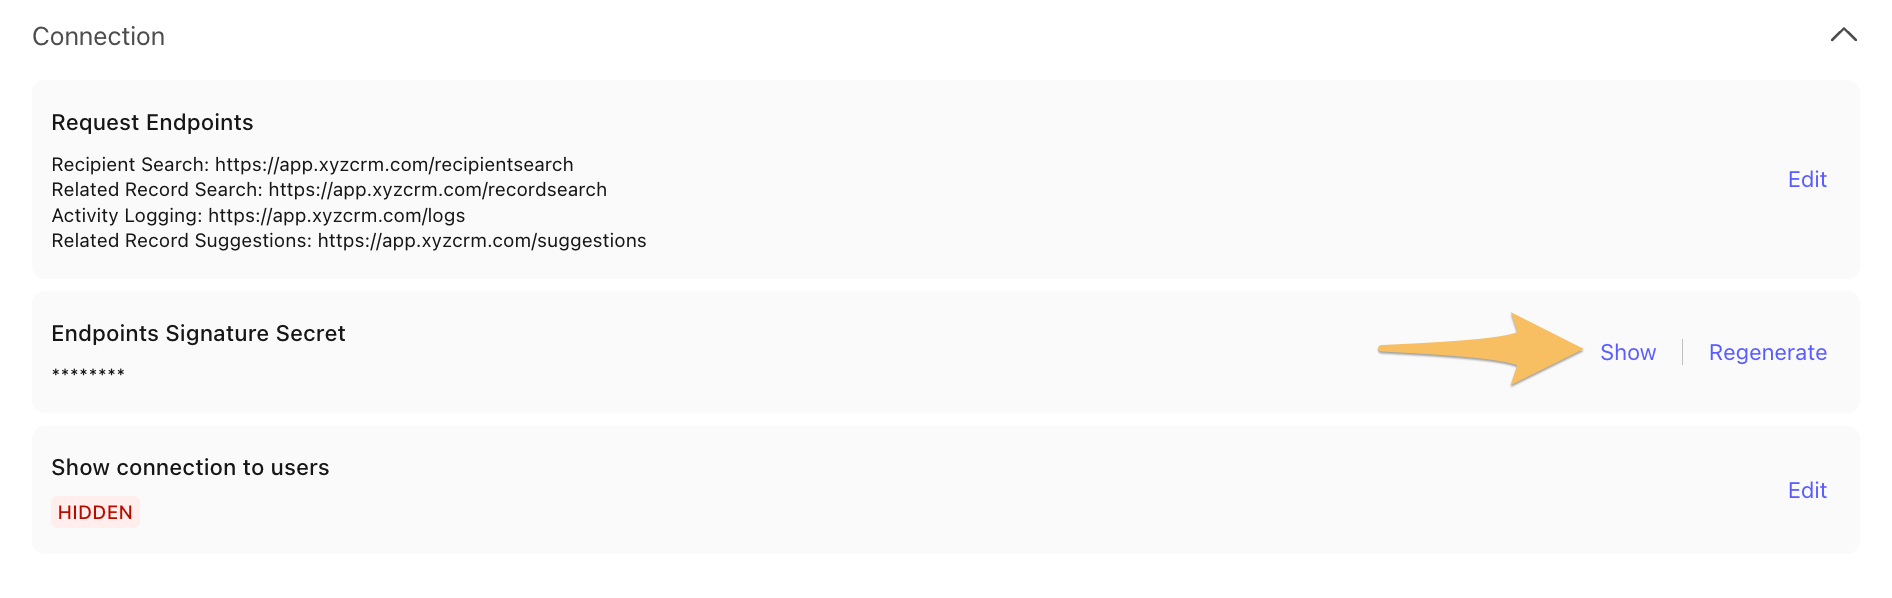 Showpad uses this to calculate and verify the HMAC signature. |
Enable Visibility
By default the CRM Connector you've configured is hidden from end users. To enable the CRM Connector for end users:
| Step | Description |
|---|---|
| 1. | On the CRM Connector's Settings page, click the Edit link for the Show Connection to Users section. |
| 2. | Select the Show to users option.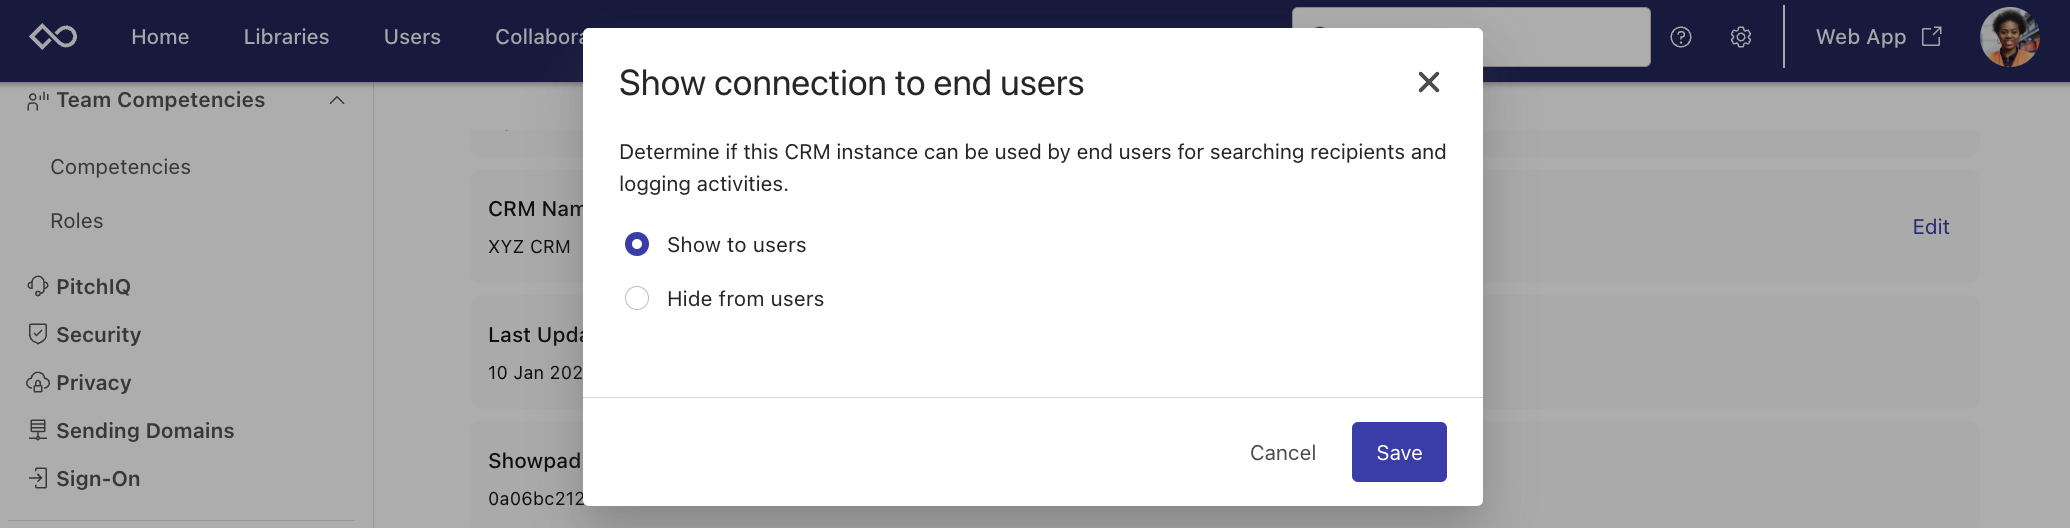 |
| 3. | Click the Save button. |